
October 16, 2026 | by Ethan, SunAura Machinery Application Engineering
A heat shrink tunnel looks simple on the surface: conveyor belt goes in, hot air blows, product comes out wrapped tight. But anyone who’s run one knows the frustration — one day the film shrinks perfectly, the next roll comes out wrinkled, loose, or scorched. The difference is almost always a mismatch between tunnel temperature, conveyor speed, and the film you’re running.
This guide explains how shrink tunnels work, what temperature and speed settings to start with for common film types, and how to diagnose the most common shrink defects. Whether you’re running a small L-bar sealer with a bench-top tunnel or a high-speed inline shrink line, the principles are the same.
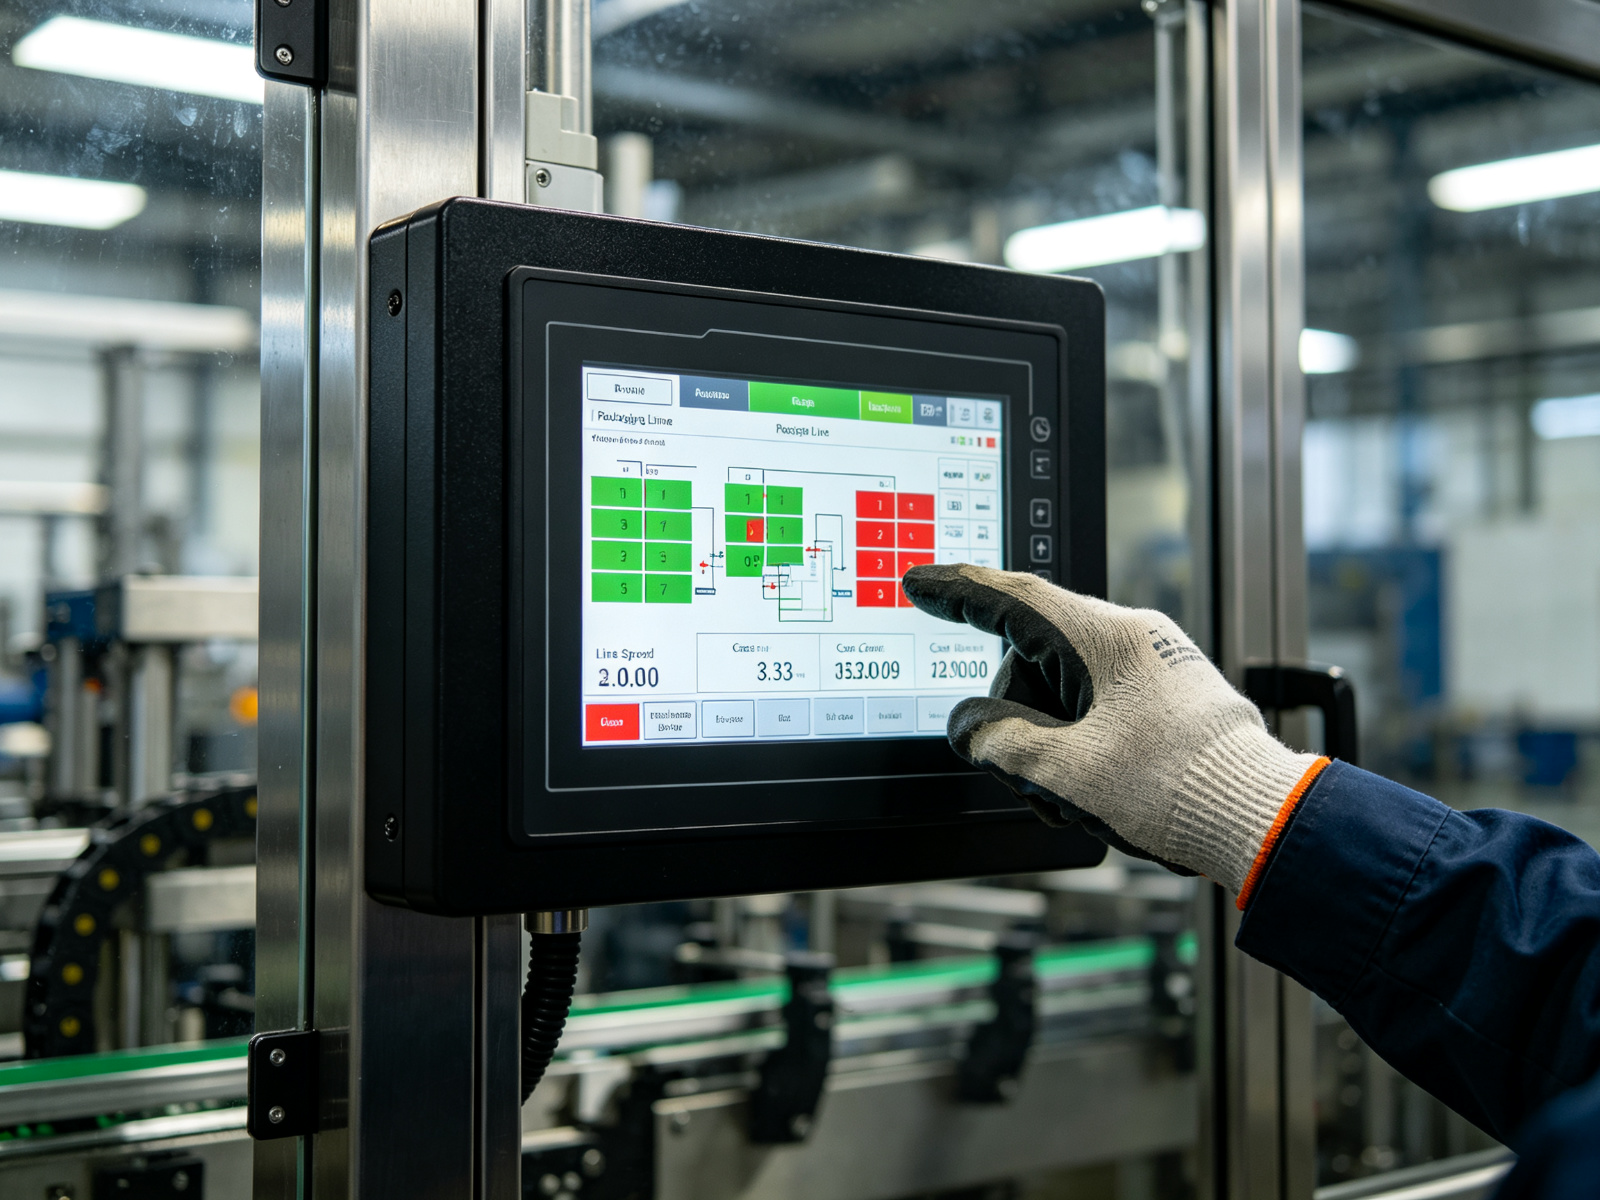
How a Shrink Tunnel Works
Shrink film (POF, PVC, PET, or PE) is manufactured with a “memory” — when heated above its shrinking temperature, it contracts back to its original extruded dimensions. The tunnel’s job is to heat the film evenly enough to trigger that contraction without overheating or burning it.
Two variables control the result:
Tunnel Temperature
This is the setpoint on the PID controller, measured in °C or °F. Different films shrink at different temperatures. Too cold and the film won’t fully contract. Too hot and the film scorches, bubbles, or shrinks unevenly.
Dwell Time (Conveyor Speed)
Dwell time is how long the product spends inside the heated tunnel. It’s controlled by the conveyor speed: slower belt = longer dwell = more heat. A typical tunnel is 1.5–2.5 meters long. At a belt speed of 5 m/min, a product spends about 18–30 seconds inside. At 10 m/min, that drops to 9–15 seconds.
The critical relationship: temperature and dwell time are trade-offs. If you need more shrinkage, you can either raise the temperature or slow the belt. The trick is finding the combination that gives full shrink without burning the film — and that balance is different for every film and product combination.
Starting Temperature and Speed Settings by Film Type
Use these as baseline starting points, then fine-tune based on your tunnel and product:
| Film Type | Thickness | Tunnel Temp | Conveyor Speed |
|---|---|---|---|
| POF (Polyolefin) | 12–15 μm | 140–160°C | Medium-fast (6–8 m/min) |
| POF (Polyolefin) | 19 μm | 150–175°C | Medium (4–6 m/min) |
| PVC | 15–25 μm | 120–150°C | Medium (4–6 m/min) |
| PET / PETG | 12–20 μm | 160–190°C | Slower (3–5 m/min) |
| PE (Polyethylene) | 40–150 μm | 160–200°C | Slow (2–4 m/min) |
PE film is the most demanding — it’s thick and needs high heat and long dwell. If you’re bundling bottled water or canned beverages in PE, expect slower conveyor speeds and longer cycle times.
Common Shrink Defects and Fixes
Wrinkled film after shrinking
Cause: Not enough heat (temperature too low or dwell too short) — the film hasn’t fully contracted. Or the seal was too loose and air got trapped.
Fix: Raise the tunnel temperature by 10°C or slow the conveyor by 1 m/min. If wrinkles are concentrated on one side, check that the hot air circulation fans are working evenly — a blocked fan causes cold spots.
Scorched or browned film edges
Cause: Too much heat — temperature too high for the film, or dwell time too long.
Fix: Lower the temperature by 15°C. If scorching happens only on corners or edges, those areas may be sitting too close to the heater elements. Check that the product is centered on the conveyor and not touching the tunnel walls.
Film is loose, not tight around product
Cause: The shrink wrap wasn’t tight enough after sealing, or the tunnel didn’t reach full shrink temperature.
Fix: First check the sealer — the film should be cut tight around the product with minimal overhang. If the seal is fine, increase temperature or slow the belt. For PE film on multipacks, this is often a sign you need a longer dwell time.
Uneven shrinkage (one side tight, one side loose)
Cause: The tunnel’s hot air circulation is uneven, or the product is blocking airflow on one side.
Fix: Clean the circulation fans and air filters. Check that the product isn’t sitting too high in the tunnel (it should be centered vertically). For tall products, you may need to raise the tunnel’s top opening or use a larger tunnel model.
Film bubbles or blisters
Cause: Moisture or product condensation on the film before it enters the tunnel. As the tunnel heats up, trapped moisture turns to steam and creates bubbles.
Fix: If you’re packaging cold or frozen product, let it come closer to room temperature before shrink wrapping, or add a pre-heat section. Check that the product isn’t sweating from refrigeration.
A Systematic Tuning Procedure
- Start at the low end of the recommended temperature range for your film (see table above).
- Set the conveyor to medium speed (4–6 m/min for most tunnels).
- Run 3–5 test packages and let them cool completely before judging — shrink film continues to contract as it cools, so wait 30 seconds.
- Adjust temperature in 10°C increments until the film shrinks evenly and tightly with no scorching.
- If you change product size or film thickness, re-tune. A larger product needs more dwell time (slower belt); a thicker film needs higher temperature.
- Save the recipe on your HMI if the machine has PLC control. Label it with film type, thickness and product, so operators can recall it instantly next time.
Need help selecting or tuning a shrink tunnel? Every SunAura shrink wrapping machine ships with a recommended starting parameter table for common films, and our engineers walk your operators through the tuning process during commissioning. Browse our shrink wrapping machines, see our workshop, or contact us with your film and product details.
The bottom line: shrink tunnel setup is a three-way balance of temperature, speed, and film type. Resist the urge to crank the temperature to 200°C on the first try — start low, test five packages, and adjust one variable at a time. Your film budget and your finished packages will both look better for it.