Vacuum vs Pressure vs Positive-Negative Pressure Thermoforming: Choosing the Forming Method for Trays, Clamshells and Deep-Draw Parts
When a packaging buyer is shown a thermoforming quotation, the machine is usually described by its automation level and web width, and the single most consequential engineering choice on the page is reduced to a line item: the forming method. The same roll of PP or PET can be pulled over a tool by vacuum alone, driven hard into the cavity by positive air pressure, or worked by a plug and a combination of the two. Each regime produces a different part, holds a different wall thickness and carries a different tooling cost, yet they are routinely treated as interchangeable upgrades rather than as decisions set by the geometry of the part. This guide compares vacuum, pressure and positive-negative pressure thermoforming, where each one earns its place, and why buying the highest-pressure machine you can afford is as wasteful as buying the cheapest one that cannot hold your deepest draw.
At SunAura Machinery we build the in-line thermoforming lines that run these three regimes, and the honest framing is that the forming method is dictated by the part, not the other way around. A shallow, simple tray that needs no fine texture is a vacuum-forming job and nothing more. A clamshell with sharp corners, textured surfaces and a tight register demands pressure. A deep, thin-gauge container that would thin and tear under either method alone needs the controlled pre-stretch of a positive-negative pressure station. Specify the method against the real draw depth, detail and gauge, and the machine follows; starting from the machine and hoping the part fits is how buyers pay for capability they never use or inherit a line that cannot make the flagship product.
What the Three Forming Regimes Actually Do
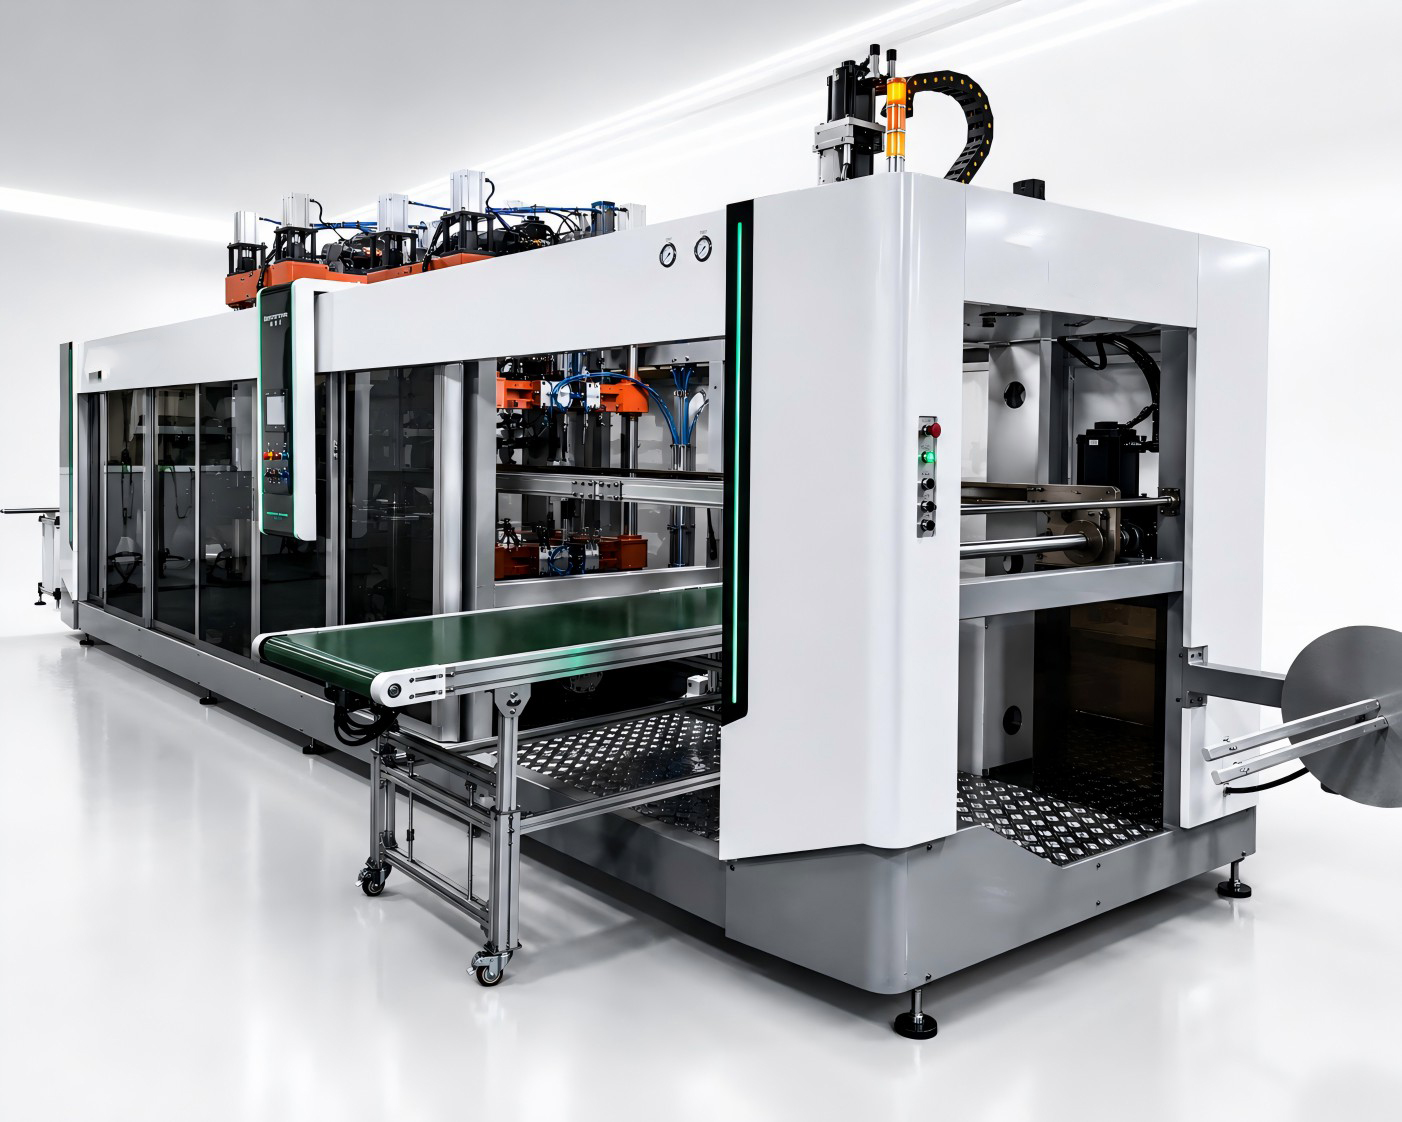
All three begin the same way: a clamped sheet is heated above its forming temperature until it becomes pliable, then shaped over a tool and cooled until it holds the geometry. The difference is the force and the sequence that move the soft sheet into the mold. Vacuum forming applies a vacuum through small holes in a single mold, and atmospheric pressure, roughly one bar, pushes the sheet onto the tool surface. It is the simplest arrangement: one mold, a vacuum pump and a clamp frame. Pressure forming adds a pressure box on the opposite side and introduces clean compressed air, commonly several times atmospheric pressure, which drives the sheet firmly onto the mold with far more force than vacuum alone can generate. Positive-negative pressure forming, sometimes described as plug-assisted pressure and vacuum forming, adds a mechanical plug that pre-stretches the heated sheet before matched positive and negative pressure work together, combining the pushing force of air with the pulling force of vacuum in a controlled sequence.
Vacuum Forming: The Simple, Low-Force Workhorse
Vacuum forming is limited by the force available, which is never more than the surrounding atmosphere, and that limit defines both its strengths and its boundaries. It is the right choice for shallow to moderate parts with generous radii and no demand for fine texture on the mold side: simple trays, lids, shallow inserts, large-format industrial parts and components where one surface is allowed to be relatively smooth. Tooling is a single mold rather than a matched pair, so it is cheaper and faster to cut, and changeover is quicker because there is no pressure box to align. The weaknesses are equally clear. The soft sheet touches the mold first at the highest points and stretches down into the cavities, so material gathers unevenly and the bottom of a deep draw can thin badly, while adjacent cavities can pull a web of film between them in a defect called webbing. Fine detail and crisp texture on the vacuum side are weak because one bar of force cannot press the sheet into small features. Push a vacuum machine beyond its draw ratio and the parts leave the line with thin corners, pinholes and scrap rather than the uniform wall the customer expects.
Pressure Forming: Detail, Texture and Material Control
Pressure forming removes the force ceiling by pushing the sheet onto the mold with several bars of clean air, and that extra force is what makes a part look engineered rather than simply molded. The high pressure drives the soft film into fine textures, sharp corners, narrow ribs and detailed logos, reproducing the tool surface on the pressure side with a finish that can approach an injected part. Material distribution improves because the sheet is held against the tool rather than merely pulled, and cycle times can shorten when the higher force sets the geometry quickly. The cost is in the tooling and the machine: a pressure box and sealing arrangement, matched tooling built to withstand the higher load, and tighter alignment at changeover. Pressure forming is the correct regime for detailed clamshells, consumer-facing trays, cosmetic and medical components that need texture or precise cavities, and any part where the visual surface is part of the product. It is over-specified for a plain shallow tray whose geometry a vacuum station would make perfectly well at a lower tooling cost, and the extra pressure does not rescue a part whose real problem is an extreme draw ratio rather than a lack of detail.
Positive-Negative Pressure: Controlled Pre-Stretch for Deep Draws
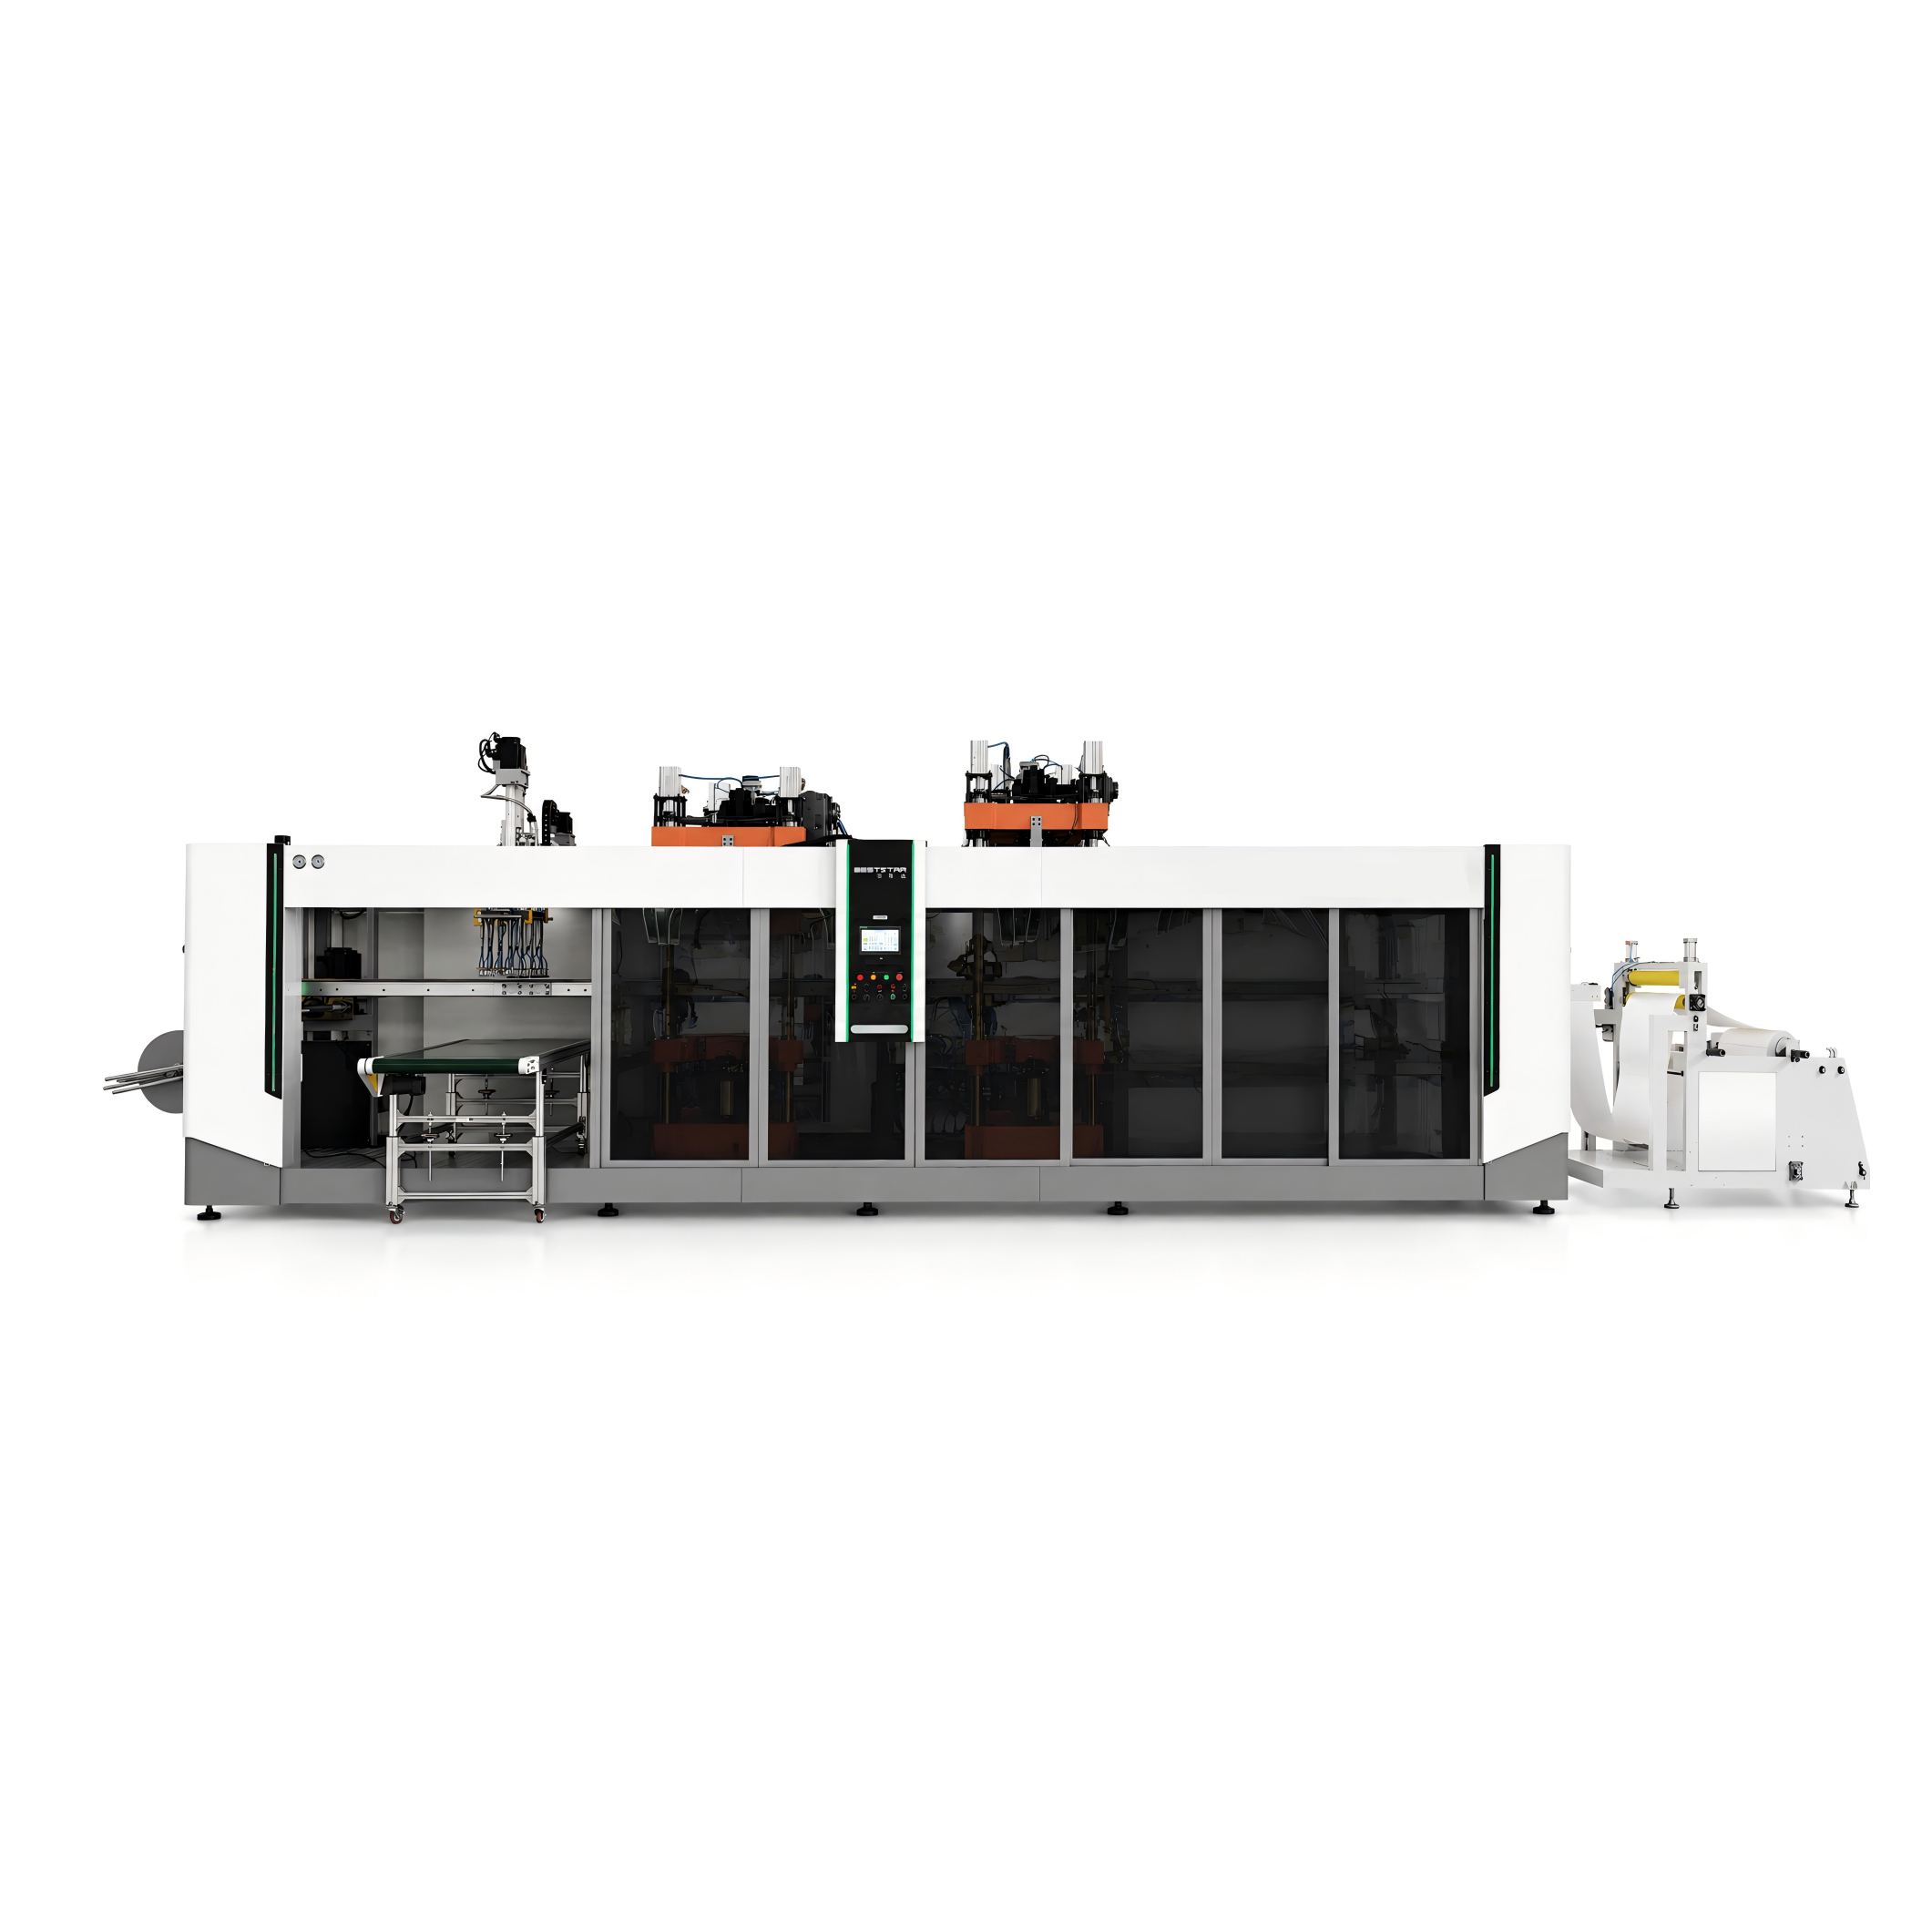
The deepest, thinnest parts defeat both simple methods: vacuum thins the bottom of the cavity and pressure alone still allows the sheet to sag and stretch unevenly before it reaches the tool. Positive-negative pressure forming solves this by controlling the stretch before the air ever hits the sheet. A shaped plug descends into the heated film and pushes it mechanically into the cavity, distributing material toward the bottom and corners where it is needed, and then positive pressure and vacuum act together to set the detail against the mold. The sequence, plug depth and timing are programmable, so the wall thickness across a deep container can be held within a narrow band instead of thinning at the base. This is the regime for deep pots, tall tubs, thin-gauge containers, multi-cavity deep-draw tooling and parts that combine depth with a demand for detail. It carries the most elaborate and expensive tooling, because the plug must be shaped for each cavity and the matched stations must align, and it requires the most process setup. It is not justified for shallow parts, where the plug adds cost and changeover time without changing a part that vacuum or pressure already makes well.
The forming line sits inside a wider system, and the part it produces is only as consistent as the upstream and downstream equipment. The thermoforming machines work alongside the multihead weighing equipment that portions the product before it fills the formed tray, while the pillow and form-fill-seal packaging machines offer the flexible-bag alternative when a rigid tray is not required, and the liquid filling machines handle products that stay in bottles rather than formed packs.
Selection Table: The Three Forming Regimes Compared
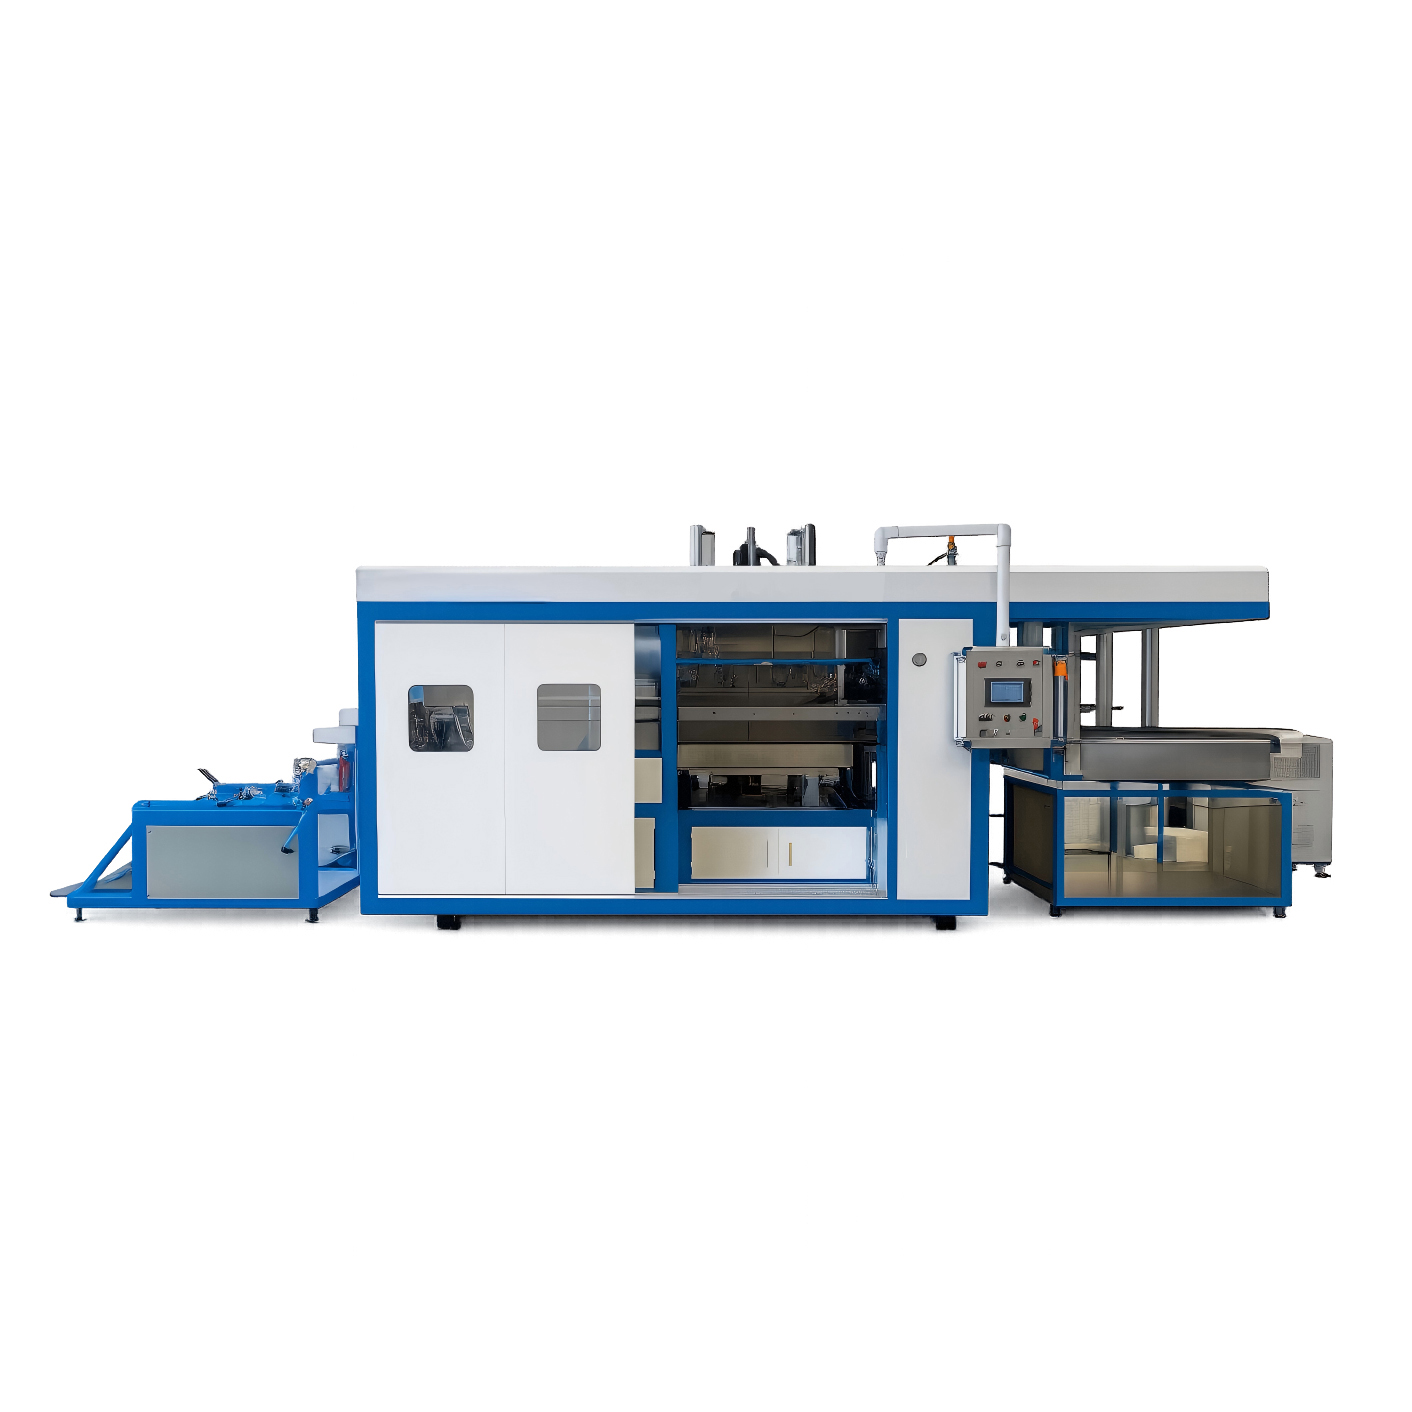
| Dimension | Vacuum forming | Pressure forming | Positive-negative pressure |
|---|---|---|---|
| Forming force | Atmospheric, about 1 bar | Several bars of clean air | Plug plus matched pressure and vacuum |
| Tooling | Single mold, lower cost | Pressure box and matched tool | Plug plus matched cavities, highest cost |
| Detail and texture | Limited, smooth surfaces | Sharp, fine texture and ribs | Detail held through deep cavities |
| Draw depth | Shallow to moderate | Moderate | Deep, thin-gauge capable |
| Wall uniformity | Thins at deep base | Good, improved hold | Best, controlled pre-stretch |
| Changeover | Quickest | Moderate alignment | Longest, plug per cavity |
| Process setup | Lowest | Moderate | Highest, timed sequence |
| Typical parts | Simple trays, lids, large parts | Clamshells, detailed trays | Deep pots, tall tubs, thin containers |
| Typical industries | General packaging, industrial | Consumer, cosmetic, medical | Dairy, food, multi-cavity deep parts |
When Not to Choose Each Regime
Do not rely on vacuum forming for a deep thin-walled container or a part that needs fine texture, because the one-bar force cannot hold the detail and the base will thin and scrap. Do not pay for pressure forming on a simple shallow tray with generous radii and no cosmetic surface, where the pressure box and matched tooling add cost without changing a part vacuum already makes. Do not specify a positive-negative pressure station with a custom plug for a shallow or moderate part, because the tooling and changeover burden is real and earns its return only on deep, repeatable production. Finally, do not treat the forming method as a parameter that can be switched on a running line: moving between regimes is a tooling and station change, not a recipe setting, so the method has to be specified at order time against the actual part. If the part genuinely needs a rigid wall or a reclosable feature that flexible film cannot provide, the correct answer is a different material or process rather than forcing the thermoforming regime.
Tooling Cost, Production Volume and the Break-Even Logic
The forming regimes carry different tooling costs, and the procurement decision should be framed against the volume that tooling has to amortize rather than the machine price alone. A vacuum mold is a single cavity cut and can be justified on a relatively short run, which is why low-volume and seasonal parts default to vacuum. Pressure and positive-negative tooling are matched, multi-component sets with a pressure box and, in the deepest parts, a shaped plug per cavity, so the upfront tooling bill is higher and only earns its return across a sustained or repeated order. The practical risk is specifying a low-cost vacuum tool for a high-volume deep part and paying the difference back in scrap, downtime and re-tooling when the thin corners fail on the line, which is more expensive over a long run than buying the correct tool at the start. Conversely, buying elaborate plug tooling for a short promotional run locks cost into a part that will never repeat, and the money is better spent on simpler tooling. Ask for the wall-thickness and scrap assumptions behind each quotation, and run a short approved trial on the actual film before approving the artwork, because a seal or a draw that looks correct on a sample can behave differently at production speed.
Material and gauge interact with the method and should be specified together rather than treated as separate choices. A thicker, stiffer sheet can hold a moderate draw under lower force, while a thin gauge that saves material leaves less film to distribute through a deep cavity and is exactly where plug assistance becomes necessary. Heating uniformity matters as much as force: a sheet that is unevenly heated will stretch inconsistently regardless of the regime, and the servo-controlled heating and forming stations on modern lines are what hold the repeatable window across long runs. These are process-engineering details rather than marketing features, and a supplier that can discuss draw ratios, plug geometry and the expected wall distribution for the specific part is demonstrating the engineering support that separates a workable line from a machine that only runs at ideal conditions.
Frequently Asked Questions
What is the difference between vacuum forming and pressure forming?
Vacuum forming uses atmospheric pressure to pull the sheet onto a single mold and suits simple shallow parts, while pressure forming drives the sheet with several bars of compressed air to reproduce fine detail and texture with better material control. The choice is set by the part’s detail and draw, not by a preference for the newer machine.
When is positive-negative pressure forming necessary?
It is needed for deep, thin-gauge containers where the base would thin under vacuum or pressure alone. A plug pre-stretches the sheet and then matched pressure and vacuum set the geometry, holding a uniform wall across the deep cavity; shallow parts do not justify the extra tooling.
Why do deep parts thin at the bottom in vacuum forming?
Because the soft sheet contacts the highest mold points first and stretches as it is pulled down, so the last area to reach the tool, the cavity base, has the least material left. Pre-stretching with a plug redistributes the film before forming, which is the core reason the positive-negative method exists.
Can the forming method be changed on an existing machine?
Only as a tooling and station change rather than a setting. Pressure forming needs a pressure box and matched tool, and positive-negative pressure needs a plug and the matched stations, so the regime should be specified when the line and tooling are ordered rather than assumed to be a later software change.
Summary: Match the Forming Force to the Part Geometry
Choose vacuum forming for shallow, simple parts with smooth surfaces and generous radii, where low tooling cost and quick changeover matter and fine detail is not required. Choose pressure forming for detailed clamshells and consumer-facing trays that need texture, sharp corners and improved material control, accepting the higher tooling. Choose positive-negative pressure for deep, thin-gauge containers that need controlled pre-stretch and a uniform wall, where the custom plug and longer setup earn their return across repeatable production. The correct regime is the one that the actual draw depth, detail and gauge demand, and specifying more force than the part needs is a cost with no benefit, while specifying too little is a line that cannot make the product.
The forming decision connects to the rest of the line. If you are deciding how the filled and sealed container is protected, see how to choose between air-cooled and water-cooled induction sealing, and if you are choosing the flexible-bag seal style, compare fin seal and lap seal flow wrappers. If you want the forming method and tooling selected against your real parts, draw depths and volumes rather than a generic recommendation, send us your drawings and samples and we will confirm the station, tooling and cycle — contact SunAura Machinery to start the review.