
Robotic Palletizer Troubleshooting: Faults, Causes and Fixes Before the Line Stops
A robotic palletizer spends its working life repeating the same motion: pick from the conveyor, traverse to the pallet, place the layer, return. Most faults do not arrive as a dramatic breakdown. They arrive as one dropped case in twenty cycles, a layer that sits a few degrees off square, a vacuum alarm that clears itself on reset, or a cycle time that creeps up until the cell can no longer keep pace with the upstream packer. Robotic palletizer troubleshooting is the discipline of reading those early signals, tracing each fault to its actual cause, and fixing the root rather than clearing the alarm and waiting for the next repeat.
This guide covers the fault patterns we see most often on articulated-arm palletizers, the cause-and-fix path for each, the changeover procedure between products with target times, and a preventive maintenance schedule that runs from daily checks to the annual service. The numbers are planning bands for a typical 120 kg or 180 kg class arm running cartons, bags, or bulk bags; verify them against your own machine’s manual and FAT records. If you are still choosing between machine types, the comparison of gantry and robotic palletizer layouts explains how frame type changes the failure modes, and the technical note on how a robotic palletizer works walks through axes, payload, reach, and cycle-time math that this troubleshooting guide assumes.
The Six Systems a Fault Can Live In
Before opening the fence, sort the symptom into one of six systems. Most alarm codes name the system directly; when they do not, the symptom points there anyway.
- Robot arm and controller: servo faults, encoder alarms, brake warnings, teach-point drift, payload overload, cycle-time deviations.
- Gripper and tooling: suction cups, vacuum generator, finger clamps, claw belts, frame hooks, tool mounting bolts, wrist cabling.
- Conveyors and guides: infeed tracking, side guides, stops, centering devices, encoder pulses, conveyor speed matching to the pick station.
- Pallet handling: pallet magazine, pallet dispense, build-table clamps, pallet presence sensors, empty and full pallet exchange.
- Controls and sensing: HMI recipes, vision or presence sensors, photoelectric and proximity switches, safety inputs, network comms between controller and conveyor PLC.
- Utilities: compressed air pressure and quality, vacuum supply, electrical supply, grounding, ambient dust and moisture.
The practical rule: a fault that repeats at the same pick position belongs to tooling or conveyor tracking; a fault that repeats at the same layer height belongs to pallet handling or teach geometry; a fault that drifts over weeks belongs to wear, lubrication, or settling; a fault that appears after a changeover belongs to the recipe, the guides, or the tooling setup from that change. Sorting this way keeps the technician from replacing cups when the real problem is a slipping conveyor encoder.
Fault, Cause and Fix: The Working Table
The table below lists the recurring faults, the likely causes in order of probability, and the fix to apply. Air supply is assumed at 5–6 bar and vacuum at the level the gripper manual specifies; check both before any mechanical diagnosis, because a low-pressure symptom looks identical to a worn-cup symptom.
| Fault symptom | Likely cause | Fix |
|---|---|---|
| Case drops mid-traverse; vacuum alarm at lift | Worn or hardened suction cup; air pressure below 5 bar; cup seating on taped or printed area | Inspect and replace cups; restore supply to 5–6 bar; adjust pick position so the cup lands on flat board; check vacuum gauge reading on each cycle |
| Case skewed on the layer, consistent angle every cycle | Conveyor tracking offset; pick location taught to a drifting stop; case rotated by incoming guide | Re-track the infeed conveyor; verify stop position and re-teach the pick point; straighten side guides so the case arrives square at the pick station |
| Layer overhangs the pallet edge | Wrong pallet or case dimensions in the recipe; pallet seated off-center; pattern target offset | Confirm recipe SKU and dims; check pallet centering on the build table; re-zero the layer pattern against the pallet datum |
| Intermittent vacuum alarm, clears on second pick | Porous or damp corrugated board; foam pad damaged; vacuum leak at fitting; filter choked | Check board moisture and porosity; replace foam pad; leak-check fittings; drain or replace the vacuum filter; enable the re-pick routine in the recipe |
| Gripper pressure fault; clamp does not hold | Regulator set low; line filter blocked; cylinder seal leaking | Set regulator to 5–6 bar; service filter; inspect cylinder seal and rod; check the gripper valve coil output from the PLC |
| Robot collision or fault stop on entry to the cell | Teach point drifted; fixture or conveyor interference; tool loose at wrist | Restore the last known-good program; inspect tool mounting and flange; clear the interference; re-home and run a dry cycle at reduced speed |
| Cycle slows; picks per hour fall below target | Unnecessary approach height; blend zones too tight; conveyor waiting for cases; robot waiting on pallet exchange | Lower approach and lift heights; widen blend zones where path allows; check infeed dwell; verify pallet-exchange timer against the cycle count |
| Bag slips from the claw during lift | Claw belt or gripper pads worn; jaw pressure too low; bag film stretched or wet | Tighten or replace belts and pads; increase jaw pressure within tool rating; inspect film and packaging condition; confirm bag weight against payload rating |
| FIBC bulk bag hook does not seat; load hangs at an angle | Frame tool mis-seated at the wrist; sling worn or twisted; hook sensor dirty | Re-seat and bolt the frame tool; inspect sling and hook for wear; clean the seat sensor; run a no-load seat check before lifting a bag |
| Conveyor jam at the pick station | Guide width set too narrow; foreign object in the line; case seal or flap protruding | Clear the jam; reset guide width to case dims; inspect upstream sealing; run the conveyor empty to check for free movement |
| Pallet shifts on the build table after placement | Build-table clamp not engaging; pallet sensor dirty; pallet board damaged | Check clamp cylinder and sensor; clean or replace the proximity sensor; reject damaged boards; verify pallet datum after each dispense |
| High air consumption; regulator drops under load | Leaking fittings or cup seal; cylinder drifting; unregulated bypass; line size undersized | Ultrasonic leak check at fittings and cups; test cylinder drift; verify regulator load curve; confirm supply line capacity for the cell’s Nl/min demand |
| Wrist cable or hose chafing at the arm | Cable carrier worn; routing pulled tight; tool rotated beyond cable wrap limit | Inspect and replace the cable carrier; re-route slack; check wrist rotation limit; tie harness so it moves with the arm rather than dragging |
| Encoder or position-loss alarm after restart | Backup battery low; controller lost position; encoder cable damaged | Replace controller backup battery per interval; re-home the arm; inspect encoder cable and connector; log the alarm for service review |
| Pattern built does not match the HMI layout | Wrong recipe selected after a changeover; recipe dims edited without saving; pallet SKU changed upstream | Re-select the correct SKU recipe; verify saved dimensions; reconcile pallet and case SKUs between upstream and cell; lock recipe editing outside setup mode |
| Controller warns payload excess on every pick | Case or bag heavier than rated; gripper mass miscalculated in payload settings; product accumulated inside the gripper | Weigh a representative case; check gripper payload entry in the controller; remove accumulated debris; move the product to a higher-payload machine if the weight is above rating |
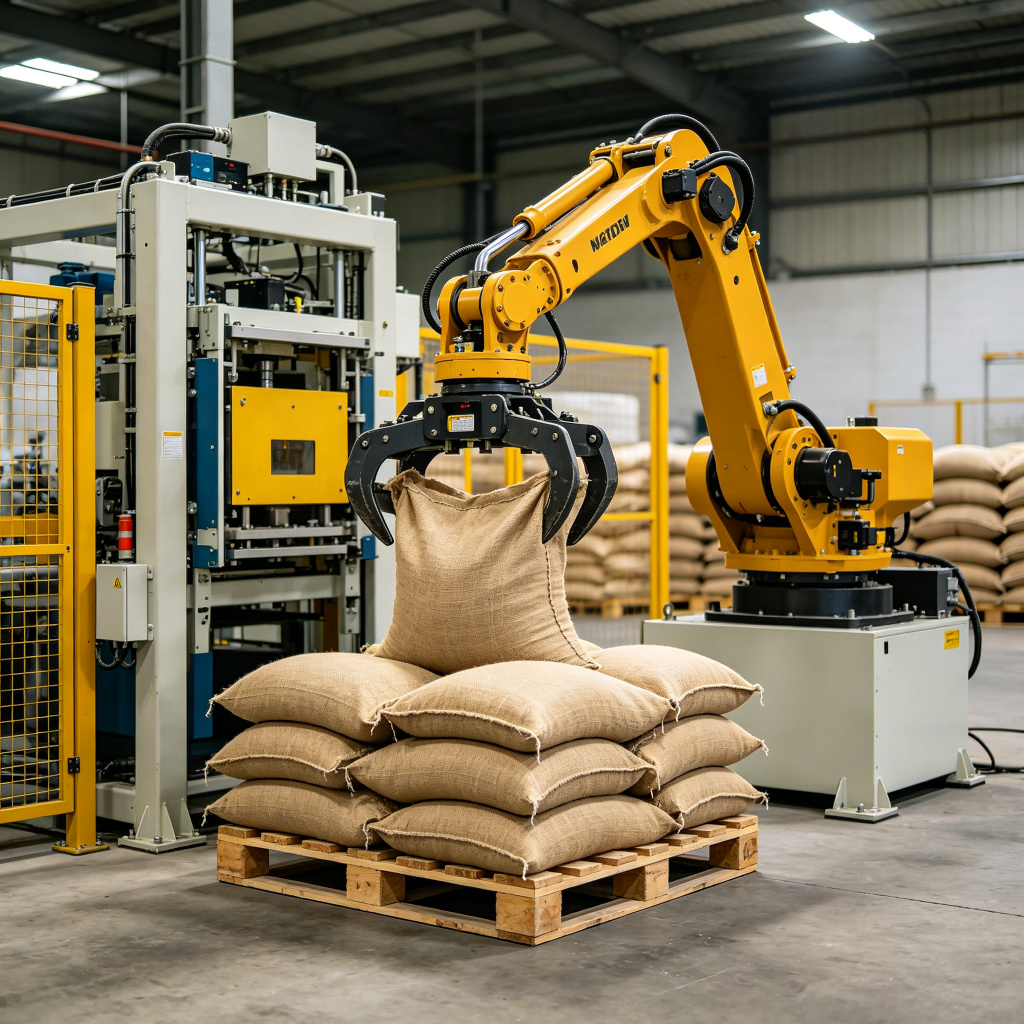
Dropped Cases: Diagnosis Walkthrough
A dropped case is the fault buyers notice first, because it lands on the floor in front of the line. Work the diagnosis in the order that isolates the cheapest check first. Start with the vacuum reading on the HMI or the gauge: does the vacuum reach target within the allowed hold time after the cup touches the case? If it does not, the problem is on the suction side. If it reaches target and still loses hold during traverse, the problem is either the case weight, the cup condition, or a leak that opens when the arm accelerates.
- Record supply air pressure at the gripper regulator during a cycle. Below 5 bar the vacuum generator cannot hold; restore pressure and check whether the alarm repeats.
- Inspect every suction cup for cuts, flattened sealing edge, or hardened rubber. A cup that seals on a dry flat board can fail on a taped flap or a damp print area.
- Check the vacuum filter and fittings for leaks. A slow leak passes at slow speed but opens under acceleration, which matches a fault that only appears during the fast traverse.
- Weigh the case. If the packed case sits at or above the gripper’s rated load, the suction margin shrinks even when every component is healthy; that is a machine-rating problem, not a maintenance problem.
- Verify the pick position teaches the cup onto flat board. Cups over a flap seam, a label, or a vented perforated board do not seal, and moving the pick point by 20–30 mm often fixes it.
For a 120 kg class arm running cartons at a 3.5–6 s cycle, a single lost pick per thousand cases is worth watching; one per hundred is a line problem that needs the tooling reviewed before the upstream speed rises. A re-pick routine in the controller can absorb an occasional miss, but it should not be the fix for a wear pattern that will keep getting worse.
Skewed Layers and Pattern Drift
Layer skew splits into two types, and confusing them sends the technician to the wrong machine. If every case arrives at the pick station already rotated, the fault is in the infeed: guides are out of alignment, the stop does not locate the case, or the conveyor encoder slips so the stop timing drifts. If cases arrive square but come off the gripper rotated, the fault is at the tool: cup spacing, finger contact, or the lift path letting the case twist.
Pattern drift that grows over weeks usually starts from settling rather than a single event. The build table shifts, the pallet datum sensor changes its reading, or a mounting bolt on the tool loosens under repeated load. The check sequence: confirm the pallet sits square on the build table against the mechanical datum, read the pattern target offsets in the recipe, compare the current first-layer placement to the last known-good record, and re-zero only after the mechanical datum is confirmed. Re-teaching the pattern without checking the datum hides the drift for another few weeks.
Vacuum and Gripper Faults
Pneumatic vacuum grippers on carton cells average 40–80 Nl/min at a 5–6 bar supply, with one suction cup per case face or a foam pad spread over the case top. The vacuum circuit has its own failure curve: filter chokes first, then cups wear, then fittings loosen, then seals in the generator degrade. Keep a log of vacuum hold time per cycle; a gradual rise in hold time is the earliest wear signal, before any drop happens.
- Cups: check sealing edge each weekly inspection; replace in sets, not one at a time, so suction balance stays even.
- Foam pads: inspect for tears and compressed channels; a worn pad leaks around the edges and cannot hold on corrugated that flexes.
- Fittings and tubing: tighten with the line isolated; check for cracks near the wrist where tubing bends every cycle.
- Filter: drain or replace per the PM schedule; a choked filter lowers both hold rate and peak vacuum.
- Gripper mass: every cup, pad, and fitting added later counts against payload; re-enter the gripper mass in the controller after any tooling change.
Bag and Bulk-Bag Handling Faults
Claw and hook tools handle a different load than a suction pad. Woven sacks, paper bags, and FIBC bulk bags are flexible, shift in the grip, and present sling loops or jaw faces rather than a flat top surface. The common faults are jaw wear, belt slip, sling fatigue, and seat-sensor misreading. On the heavy-duty robotic palletizer 180 kg class, the frame tool carries the bulk bag by its four slings; inspect slings for pulled stitches, abrasion, and loop wear at every quarterly inspection, and replace a sling on any doubt rather than waiting for a visible failure.
Bag weight matters across the payload boundary. A filled sack that creeps above the rated payload, or a bulk bag wet from ambient humidity, pushes the wrist past its margin; the controller’s payload warning is the last signal before the arm cuts out. If the product routinely sits near the rating, discuss moving to the heavier payload class rather than tuning the warning thresholds down.
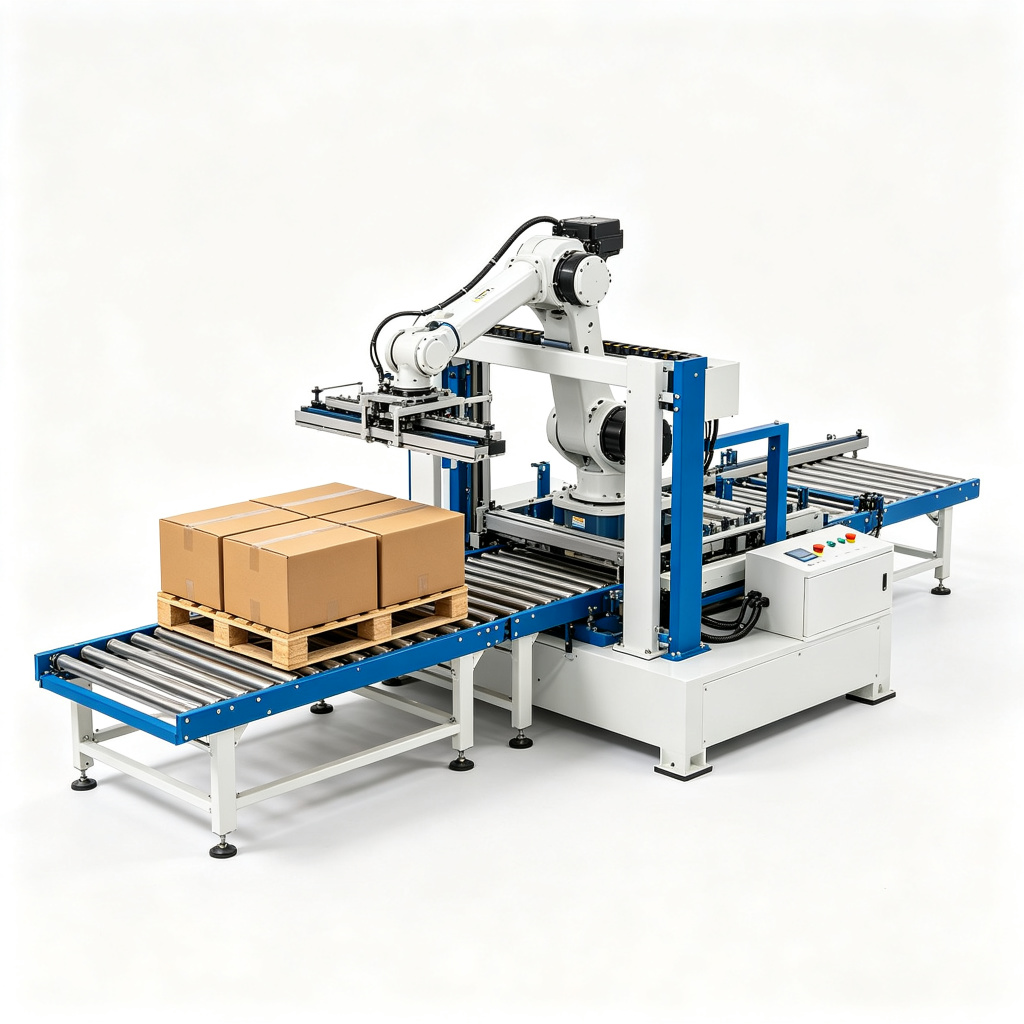
Changeover: Procedure, Target Minutes and First-Piece Check
A changeover between SKUs is where most avoidable faults originate. The cell runs fine on product A, changes to product B, and spends the next shift dropping cases or building skewed layers because the recipe, guides, or tooling were set partially. The procedure below targets 30 minutes for a same-gripper changeover on a carton cell, and 45–60 minutes where the gripper itself has to be exchanged. Times are reference targets; your line’s measured baseline should replace them after the first three changeovers are timed.
Pre-Changeover Preparation (Before Stopping the Line)
- Stage the new case dims, pallet dims, layer pattern, and recipe number at the HMI; confirm the recipe file exists and saves.
- Stage spare cups, finger pads, or the alternate gripper with its bolts and cable connector.
- Have a sample of the new case and a sample pallet available at the pick and build stations.
- Clear the cell of the last product: remaining cases, partial layers, and empty pallets from the previous SKU.
Step-by-Step Changeover with Target Times
| Step | Action | Target minutes |
|---|---|---|
| 1. Safe state | Run the cell to finish the current layer, park the arm, select setup mode, isolate air where the gripper will be touched; verify no residual motion | 3 |
| 2. Recipe load | Select the new SKU recipe in the HMI; verify case length, width, height, pallet dims, layer count, and pattern orientation match the sample product | 5 |
| 3. Tooling check or exchange | Same gripper: inspect cups and fingers, adjust spacing to the new case width. Gripper swap: remove bolts, disconnect hose and cable, seat the new tool, torque flange bolts, reconnect and verify air and vacuum | 8 same gripper / 25 with swap |
| 4. Conveyor guides and stops | Set side-guide width to case dims plus running clearance; reposition the pick stop and centering device; check the case feeds square into the pick station | 4 |
| 5. Pick and place teach verification | Run a dry cycle at reduced speed; confirm pick height, approach offset, and place height against the sample pallet; correct teach points if the case is not centered on the layer | 7 |
| 6. First-piece and first-layer inspection | Run three cases under normal speed; check vacuum hold, case square on the layer, and pallet datum; inspect the first complete layer for overhang and pattern match | 5 |
| 7. Restart and monitoring | Return to production mode, release the cell, watch the first two pallets; record changeover time and any adjustment made for the next baseline | 3 |
Same-gripper total target: 3 + 5 + 8 + 4 + 7 + 5 + 3 = 35 minutes. With a gripper exchange, step 3 rises to 25 minutes and the total targets 52 minutes. If a changeover runs past target on a regular basis, the bottleneck is usually teach verification: the pick and place points were not saved for the new recipe, so the technician re-teaches from scratch each time. Saving verified teach points per recipe cuts that step in half after the first product.
First-Piece Acceptance Before Releasing the Line
- Vacuum or grip holds on every sample pick, no re-pick triggered on the first cycle.
- Case sits flat and square on the layer; no rotation at the corners.
- Layer pattern matches the HMI layout; case edges stay inside the pallet outline.
- Pallet datum reads correctly after dispense; build table clamp engages.
- Cycle time on the new product sits inside the target band for the upstream line speed.
Preventive Maintenance: Daily to Annual Schedule
Preventive maintenance turns the wear curve above into scheduled work instead of unplanned stops. The schedule below divides tasks into daily, weekly, monthly, quarterly, and annual intervals. The daily tasks take the operator or line lead a few minutes each shift; the annual items are done with service support and documented for the maintenance file.
| Interval | Maintenance tasks | Responsible role |
|---|---|---|
| Daily (each shift) | Visual walk-around: no dropped cases, no debris in the cell; check supply pressure 5–6 bar and vacuum reading on cycle; confirm no active alarm or fault history; inspect build table and pallet station for damage; listen for unusual air leaks or servo noise; confirm fence and interlock condition | Operator / line lead |
| Weekly | Inspect suction cups, pads, and finger surfaces for wear; clean sensors and photoeyes; check tool mounting bolts and wrist cable routing; clear accumulated debris from guides and conveyor; lubricate listed grease points; check conveyor belt or chain tension and tracking | Maintenance technician |
| Monthly | Drain air filter and regulator; inspect oil/water in the compressor feed; test interlock switches, light curtain, and e-stop functions; verify conveyor encoder pulses against pick position; check cylinder drift and seal condition; review alarm log and cycle-count trends; inspect pneumatic fittings for leaks | Maintenance technician |
| Quarterly | Check gearbox oil condition and level per manual; measure wrist and axis backlash; inspect cable carrier and harness for chafing; inspect slings, hooks, and claw pads on bag tools; verify brake hold and stop-time record; tighten structural bolts on tool and frame; backup controller program and recipe files | Maintenance technician with service review |
| Annual | Full safety-system review: stop times, performance-level chain, device certificates; inspect or replace wear items per hours run; check foundation and anchor bolts; review payload and cycle-hours against rating; update spare-parts list; calibrate or replace sensors past service life; document service report and update the machine record | Service engineer / integrator |
What the Daily Check Is For
The daily walk-around catches the faults that become stops by the next shift: a pressure gauge drifting low, a cup that has split overnight, a sensor that has accumulated dust, a pallet board that sits crooked on the table. It is visual and short; it does not open the fence or touch the tooling. Anything flagged gets logged and scheduled for the weekly task rather than cleared on the spot.
Weekly and Monthly Work: The Wear Items
Weekly inspection covers the parts that contact the product: cups, pads, fingers, belts, and the sensors that read position. Monthly work covers the utility side: air preparation, safety devices, encoder consistency, and cylinder condition. The monthly alarm-log review is where slow trends surface. If vacuum hold time has risen across the month, or re-picks appear twice a week, that is a scheduled tooling replacement, not an emergency.
Quarterly and Annual Work: The Machine’s Own Condition
Quarterly checks look at wear inside the machine: backlash, cable life, gearbox condition, sling fatigue, brake behavior. Annual work steps back to the whole system: safety performance against the compliance record, running hours against payload rating, foundation condition, and spare-parts coverage. Keep service records tied to cycle hours, not calendar months alone; a cell running two shifts accumulates wear faster than the nominal annual interval suggests.

Air Supply: The Utility Baseline Most Faults Assume
Compressed air underpins grippers, clamps, pushers, and vacuum generation. A carton vacuum gripper draws 40–80 Nl/min average at 5–6 bar; a clamp or claw tool adds its own cylinder demand. Before diagnosing mechanical faults, confirm the supply delivers rated pressure at the cell under load, not at the header. A regulator that reads 6 bar at rest dropping to 4.5 bar under grip means the line size, the filter, or a leak is the problem. Treat dry, filtered air as part of the maintenance job: water in the line damages seals and blinds cups, and a choked filter mimics a worn gripper.
- Record pressure and vacuum readings daily so drift has a baseline to compare against.
- Drain the filter monthly; replace filter element per condition, not per guess.
- Leak-check fittings with an ultrasonic detector during the monthly visit; leaks add up across many fittings even when each seems minor.
- Size the supply for peak demand, including any future tooling change that adds cylinders or cups.
Logs, Trends and Data Worth Reviewing
The controller and HMI keep the evidence if you read it. Each week, review cycle count, picks per hour, re-pick count, alarm history, and vacuum or grip hold times. Compare the current week to the baseline after SAT. A rising re-pick count points to tooling wear; falling picks per hour with no alarm points to path or conveyor waiting; recurring alarms at the same pick position point to a geometry or guide problem rather than a random fault.
Keep a changeover log: SKU pair, start and finish time, adjustments made, and any part replaced. After three or four cycles of the same SKU pair, the target time becomes your measured baseline, and any changeover that runs long has a specific step to investigate. Recipe files and teach points should be backed up quarterly, so a controller fault does not erase the verified patterns the line depends on.
When to Escalate to the Integrator or Service Engineer
Some faults are beyond the in-house maintenance boundary. Escalate rather than force a workaround when the arm shows repeated servo or encoder faults that return after re-home; when backlash or brake behavior fails the quarterly check; when a safety device cannot be reset or a safety input shows an unexplained fault; when payload warnings persist after weighing confirms the product is within rating; or when a fault follows a controller or software backup restore. In-house teams should not alter safety parameters, downgrade performance-level settings, or bypass a device to keep the line running.
Machine-Specific Notes for the Common Cells
The troubleshooting path shifts with the machine’s load and tooling. The automatic bag palletizer centers on claw and sling condition; watch jaw pressure, belt tension, and bag film condition before looking at the arm. The compact carton palletizer has a short infeed and tight guides, so guide width and recipe dims are the first check on any skew. The four-axis robotic palletizer 120 kg covers a middle band of cartons and lighter sacks; payload warnings on this cell usually mean either the product grew heavier or the gripper mass was entered wrong. The 180 kg heavy-duty arm carries bulk bags and heavy sacks, where sling and frame-tool inspection dominate the quarterly list, and cycle speed stays conservative to protect the wrist under high load.
The full end-of-line range, with payload classes and tooling options for each product type, is indexed on the palletizers product index. If a fault pattern keeps recurring after the fixes in this guide, the next step is to compare the product’s weight, speed, and package format against the machine’s rating; a cell bought at the edge of its capacity will show maintenance symptoms no schedule can remove.
How the Cluster Connects
Safe operation frames every maintenance task: the compliance guide on palletizer safety and CE compliance covers guarding distances, interlocks, and the standards that govern how the cell may be entered for service. The technical deep dive on how a robotic palletizer works explains the axis motion, payload math, and cycle-time figures behind the fault thresholds used here. And the layout comparison between gantry and robotic palletizer frames shows why a gantry’s fixed travel produces a different set of wear points than an articulated arm.
Run the daily check, log the trend, fix the root cause, and keep the changeover to a timed sequence. Most palletizer downtime is not a sudden failure; it is a small fault that went unread for several cycles. The maintenance habit that pays off is writing down the symptom, the reading, and the fix each time, so the third occurrence of the same pattern has a record to match against instead of starting from scratch.